

In the past few days, I couldn’t publish posts in our Flutter tutorial series because I was busy with an ASP .NET Core project. Anyway, let’s continue learning Flutter. In this post, we’ll learn how to use image asset in Flutter applications.
What is an asset?
Assets are the resources that we add locally with our application so that they can be used even if the application works offline. Assets can be an image, files, fonts etc.
Adding an image
To add an image asset, Right-click on the Project folder and select New -> Directory and name it images. Now add an image to the folder ( Just copy and paste… simple).
Using image assets
To use an asset in Flutter, it should be specified in pubspec.yaml. So, to add image assets to our application, open pubspec.yaml and uncomment the following lines.
# assets:
#  - images/a_dot_burr.jpeg
#  - images/a_dot_ham.jpeg
This is where you can add image assets of your application.
Did you know?
In Android Studio, you can uncomment any line by selecting it and pressing Ctrl + / .
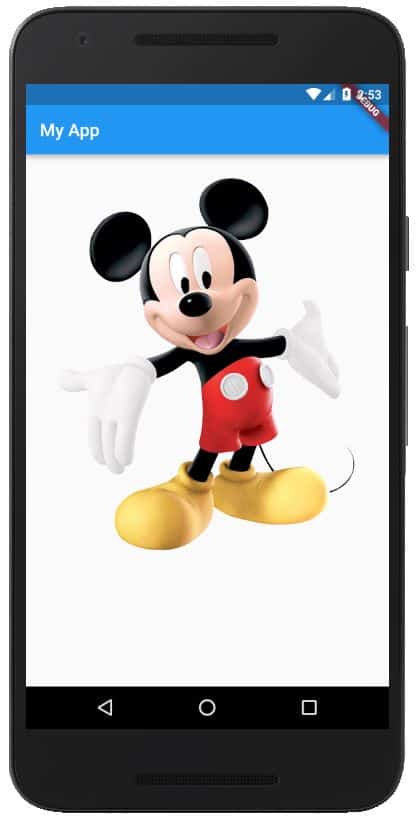
Now modify the lines as shown below. Replace mickey-mouse.png with the name of your image file.
assets:
  - images/mickey-mouse.png
As you have made changes to pubspec.yaml, click Packge Get located at the top-right corner of the code editor. If you get some error now, make sure that there is a proper indentation of two spaces (2 at the beginning of assets and 4 at the beginning of - image).
Final coding
Come back to main.dart and add the following code. In this code, I’ve simply defined a material app and placed an Image widget.
import 'package:flutter/material.dart';

void main()
{
  runApp(
      MaterialApp(
        title: "My Application",
        home: Scaffold(
          appBar: AppBar(title: Text("My App"),),
          body: Container(
            child: Image.asset("images/mickey-mouse.png"),
          ),
        ),
      )
  );
}
In this tutorial, we’ve learned how to use image assets in Flutter applications. This was a very basic tutorial and we’ll learn more about aligning, scaling and styling image assets later.


