In this post, we will see how to create an ASP .NET Core MVC application.
Prerequisites
Before continuing, make sure that you installed the following items on your computer.
- Visual Studio 2019. (You can also use Visual Studio 2017).
- .NET Core SDK 2.2
Creating a new web application
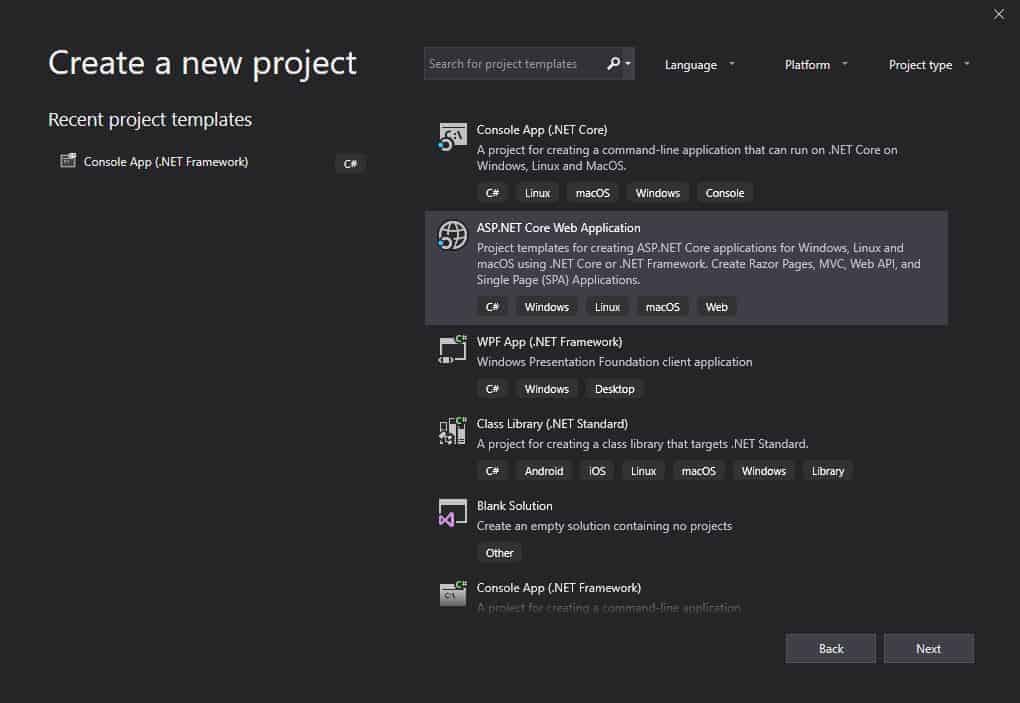
To create a web application, click on Create a new project. From the window that appears, select ASP .NET Core web application and click Next.
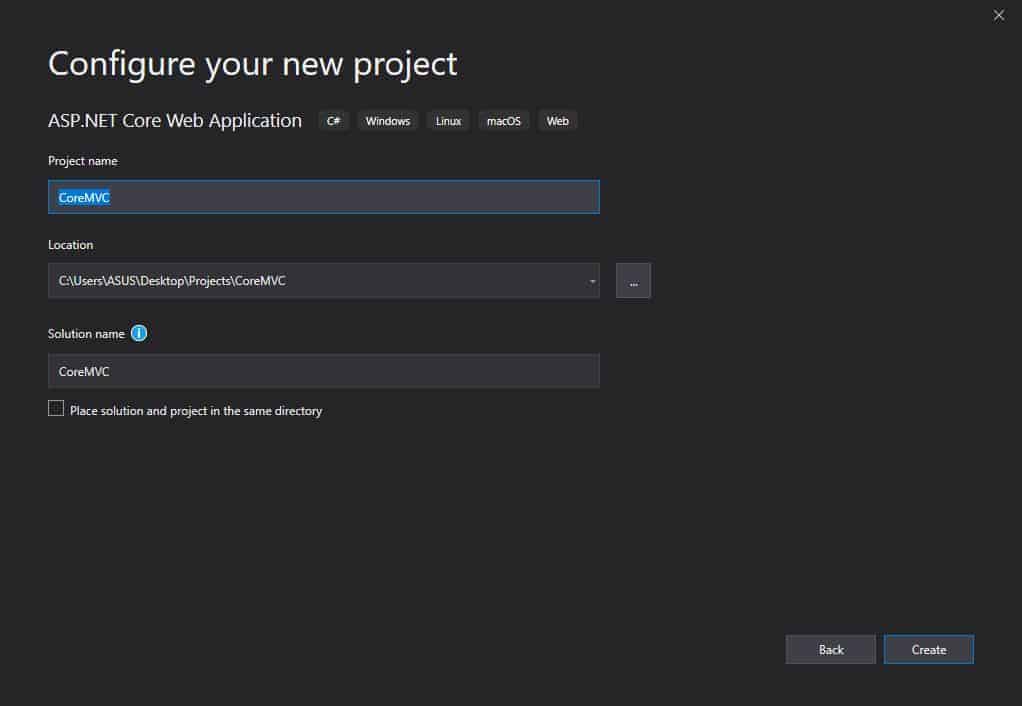
Name the application as CoreMVC and click Create.
From the next window, select Web Application (Model-View-Controller) and click Create. This will create a new project.

Click on the ▶ button or hit Ctrl + F5 to run the project. A simple web page as shows below will appear.

If you enjoyed this post, let me know by leaving a comment below.
Subscribe
Join the newsletter to get the latest updates.