In this post, we’ll discuss how to create an ASP .NET core project. I’m using Visual Studio 2017 in this tutorial.
Creating a new project
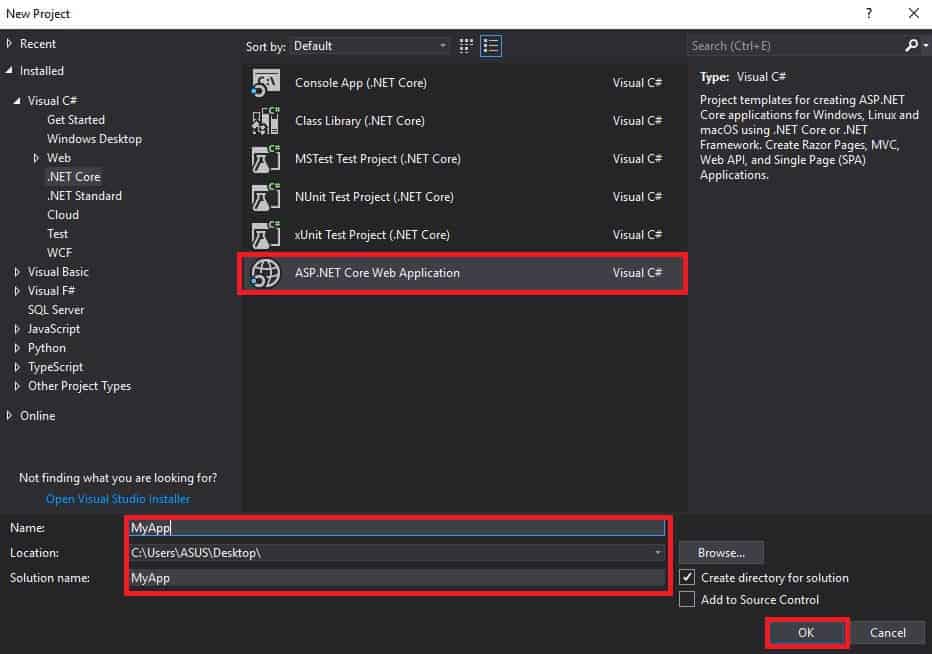
To create a new project, Go to File -> New -> Project or press Ctrl + Shift + N.
From Installed templates, choose Visual C# -> .NET Core -> ASP .NET Core Web Application. Give a name for the application or leave it as it is. Click OK.
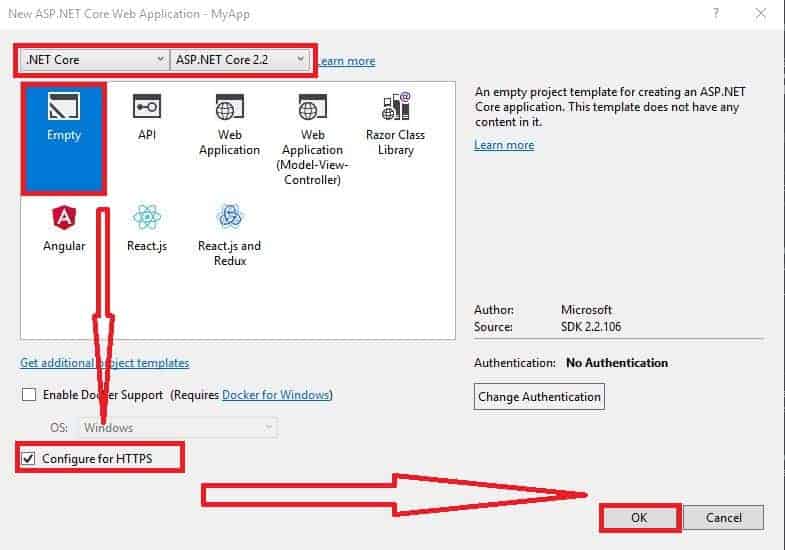
In the next window that appears, Select Empty project template and make sure that you have selected Configure for HTTPS. Click OK to create the project.
You can also choose the version on .NET Core for the application. Here, I’m sticking with my default option (ASP .NET Core 2.2).
Now you have successfully created your first ASP .NET Core application. Run the project either by pressing ▶ button or F5. You will see “Hello World” printed on the screen.